Simple Sourdough Starter Recipe
Simple Sourdough Starter Recipe
A sourdough starter is a living culture made from just flour and water that captures wild yeast and beneficial bacteria from your flour and environment. Over time, this mixture ferments, producing gas that makes bread rise and acids that give sourdough its signature tang and aroma.
Unlike commercial yeast, a starter contributes both leavening and flavor, giving your loaves unique character that reflects your kitchen, your flour, and your routine.
Ingredients and Tools for Sourdough Starter
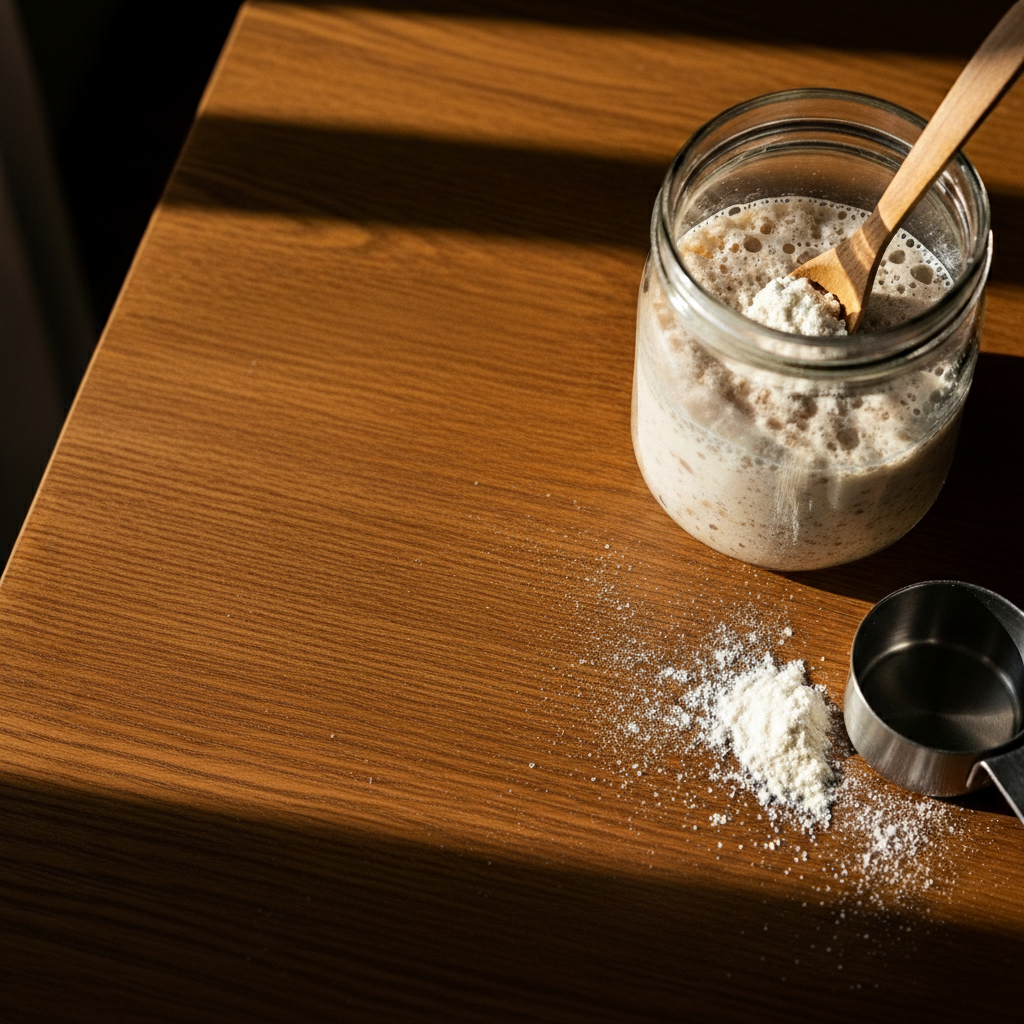
You only need a few basics to begin.
Ingredients
- 210 g (1¾ cups) unbleached all-purpose flour
- Stone-ground or freshly milled flour is ideal, but any unbleached flour works.
- Whole grain flour (like whole wheat or rye) can boost early activity.
- 210 g (about ¾ cup plus 4 tablespoons) filtered water
- Use non-chlorinated water; chlorine can slow or inhibit fermentation.
- Room-temperature water is best.
Tools
- 1 small bowl or jar (glass, ceramic, or food-safe plastic, 1–2 pint size)
- Tea towel, coffee filter, or breathable lid (to keep dust out but allow airflow)
- Measuring cups or, ideally, a digital kitchen scale
- Spoon or spatula
A scale will give you more consistent results, but volume measurements can work if you’re careful.
Why Make Your Own Sourdough Starter?
- Flavor & character: Your starter develops a flavor profile unique to your home.
- Cost-effective: Just flour, water, and time—no constant packets of yeast.
- Satisfying ritual: Watching bubbles appear and the starter rise is both educational and fun.
- Versatile: Once active, your starter can leaven bread, pancakes, waffles, crackers, and more.
Many bakers even name their starters and treat them like a friendly kitchen pet.
Day-by-Day Guide: How to Make a Sourdough Starter
The timeline can shift a little based on temperature and flour, but this 7-day plan works well for most home kitchens.
Day 1: Mix and Wait
- In your jar or bowl, combine:
- 70 g flour
- 70 g water (about ¼ cup plus 2 tablespoons)
- Stir until no dry bits remain; the mixture should be thick but stirrable, like a loose paste.
- Scrape down the sides, loosely cover with a breathable lid or towel.
- Leave at warm room temperature (around 70–75°F / 21–24°C) for 24 hours.
You likely won’t see much change today—and that’s okay.
Day 2: First Signs of Life (Maybe)
- Check the mixture. You might see:
- A few small bubbles
- Very slight rise
- A mild floury or faintly tangy smell
Even if you see no obvious activity yet, proceed:
- Stir the starter to redistribute.
- Add 70 g flour and 70 g water (same as Day 1).
- Mix thoroughly, cover, and rest at warm room temperature for another 24 hours.
Day 3: Early Fermentation Kicks In
By day three, you’ll often notice:
- More visible bubbles
- A light, tangy or fruity aroma (like yogurt, apples, or mild alcohol)
- Slight rising between checks
Now you’ll begin the discard and feed routine:
- Discard about half of the starter (you can measure, e.g., keep 70 g and discard the rest).
- To the remaining starter, add:
- 70 g flour
- 70 g water
- Mix well, cover, and keep warm.
Discarding keeps the total volume manageable and gives the microorganisms a better balance of fresh food.
Days 4 & 5: Building Strength
By day four, the starter should be noticeably more active:
- Larger bubbles throughout
- Clearly rising and then falling between feedings
- A more pronounced sour, fruity, or yeasty smell
Repeat this routine once a day:
- Discard about half (or measure to keep ~70 g of starter).
- Feed with 70 g flour + 70 g water (a 1:1:1 ratio by weight: starter:flour:water).
- Stir, cover, and keep in a warm spot.
If you see a thin layer of liquid (called hooch) on top:
- This is a sign the starter is hungry.
- You can stir it back in for stronger acidity or pour it off for a milder flavor, then feed as usual.
Days 6 & 7: Checking If Your Starter Is Ready
A starter is usually ready for baking when:
- It doubles in volume within about 4–8 hours after feeding.
- It’s full of bubbles, top to bottom.
- The aroma is pleasantly sour, yeasty, or fruity—not rotten or putrid.
- A spoonful floats in water (the classic float test):
- Fill a glass with room-temperature water.
- Drop in a small spoonful of starter.
- If it floats, it’s airy and active enough to leaven bread.
If your starter doesn’t quite meet these signs yet, just continue daily feedings at the same ratio and temperature. In cooler homes, it can easily take 10–14 days to reach full strength.
Feeding, Discarding, and Routine Care
Think of feeding and discarding as basic “starter hygiene.”
Why Discard?
- Keeps the total quantity manageable.
- Prevents your starter from becoming too diluted or too acidic.
- Keeps the yeast population strong and well-fed.
You don’t have to waste discard—use it in pancakes, waffles, crackers, muffins, or quick breads, or share it with friends.
Basic Feeding Ratio
A simple routine for many home bakers is a 1:1:1 ratio by weight:
- 1 part starter : 1 part flour : 1 part water
Example:
- Keep 50 g starter, feed with 50 g flour and 50 g water.
You can adjust later (e.g., 1:2:2 for a “hungrier” starter) as you get comfortable.
Room Temperature vs. Fridge
- If you bake often (every day or two):
- Keep starter at room temperature.
- Feed roughly once every 24 hours.
- If you bake less often (once a week or less):
- Feed the starter, let it become slightly active, then refrigerate.
- Feed about once a week to maintain it.
- Before baking, bring it to room temperature and give it 1–2 feeds to wake it up.
Choosing Water and Flour
Water
- Chlorinated tap water can slow or suppress fermentation. If you suspect this:
- Use filtered, bottled, or dechlorinated water.
- Or let tap water sit out uncovered for several hours so some chlorine dissipates.
Flour
- Unbleached flour is preferred; bleaching can reduce available nutrients.
- Whole grain flours (whole wheat, rye) are rich in minerals and can boost microbial growth.
- You can start with whole grain flour and later switch to all-purpose once the culture is strong.
Over time, you can experiment with different flours to adjust flavor and fermentation speed.
Tips for a Strong, Reliable Starter
- Warm, stable location:
- Aim for 70–75°F (21–24°C).
- Too cool = sluggish starter; too hot = harsh acidity or off flavors.
- Patience:
- It’s normal for activity to surge then slow, or to have “quiet” days.
- Consistent feeding usually evens things out.
- Use your nose:
- Normal smells: tangy, fruity, yogurty, wine-like, or mildly vinegary.
- Bad smells: rotten, putrid, strongly cheesy, or anything that makes you recoil.
- Keep the jar edges clean:
- Wipe down sides to discourage unwanted mold growth.
- Use a clean utensil every time you feed.
Troubleshooting Common Sourdough Starter Problems
| Symptom | Possible Cause | What to Do |
|---|---|---|
| No bubbles after several days | Too cold, chlorinated water, low-nutrient flour | Move to warmer spot, switch to filtered water, use some whole grain flour |
| Thin liquid (hooch) on top | Starter is very hungry | Stir in or pour off, then feed; consider more frequent feeding |
| Strong alcohol/acetone smell | Over-fermented, underfed | Give several regular feedings; adjust feeding schedule |
| Very sour and sluggish | Acidity buildup, infrequent feeding | Increase feeding frequency or use a higher feed ratio (e.g., 1:2:2) |
| Pink, orange, or fuzzy mold spots | Contamination | Discard completely and start over—do not use |
If in doubt, when you see mold, throw it out. It’s not worth the risk.
Using Your Sourdough Starter in Baking
Once your starter is active and reliable, you can start baking:
- Peak activity:
- Many recipes call for starter that is recently fed and domed, usually 4–8 hours after feeding, when it has doubled and is airy.
- Sourdough bread:
- The starter replaces or supplements commercial yeast.
- Recipes vary in how much starter they use, often 15–30% of total flour weight.
- Other recipes:
- Use active or discard starter in:
- Pancakes and waffles
- Crackers and flatbreads
- Muffins and quick breads
- Pizza dough, biscuits, even cookies
- Use active or discard starter in:
Always remember to keep some starter back after measuring what you need for a recipe. That remaining bit is what you feed and continue to maintain.
FAQs
How long does it take for a sourdough starter to be ready?
About 7 days with daily feedings. It doubles reliably and floats in water by then.
Do I need to discard the starter during the process?
Yes, from Day 4—keeps it fresh and prevents over-acidification.
What if my starter smells like vinegar?
Normal sign of hunger; feed promptly and reduce intervals to 12 hours.
Can I use bleached flour for sourdough starter?
Better unbleached or whole grain; bleached lacks nutrients for yeast growth.
How do I store mature starter long-term?
Refrigerate after feeding; refresh weekly by discarding half and feeding fresh flour-water.