How to Treat a Dog’s Broken Nail at Home: 7 First Aid Steps
How to Treat a Dog’s Broken Nail at Home: 7 First Aid Steps
A broken dog nail can look small but feel huge—there may be sudden yelping, limping, and a surprising amount of blood. Broken nails are painful, they can get infected easily, and they often happen out of nowhere during walks, play, or grooming.
This guide walks you through seven essential home care steps for a broken nail, explains when it’s safe to manage at home, and when you need to call your vet for urgent help.
Understanding Dog Nail Injuries
Dog nails have a hard outer shell and a sensitive inner “quick” that contains nerves and blood vessels. When the outer shell cracks, tears, or breaks too short, the quick can be exposed, leading to pain and bleeding.
Common causes include nails catching on carpet, decks, or fences, nails that are too long and hit the ground at an angle, and high‑energy play or rough terrain. Dewclaws (the thumb-like nails higher up the leg) are especially prone to breaking because they don’t wear down with walking.
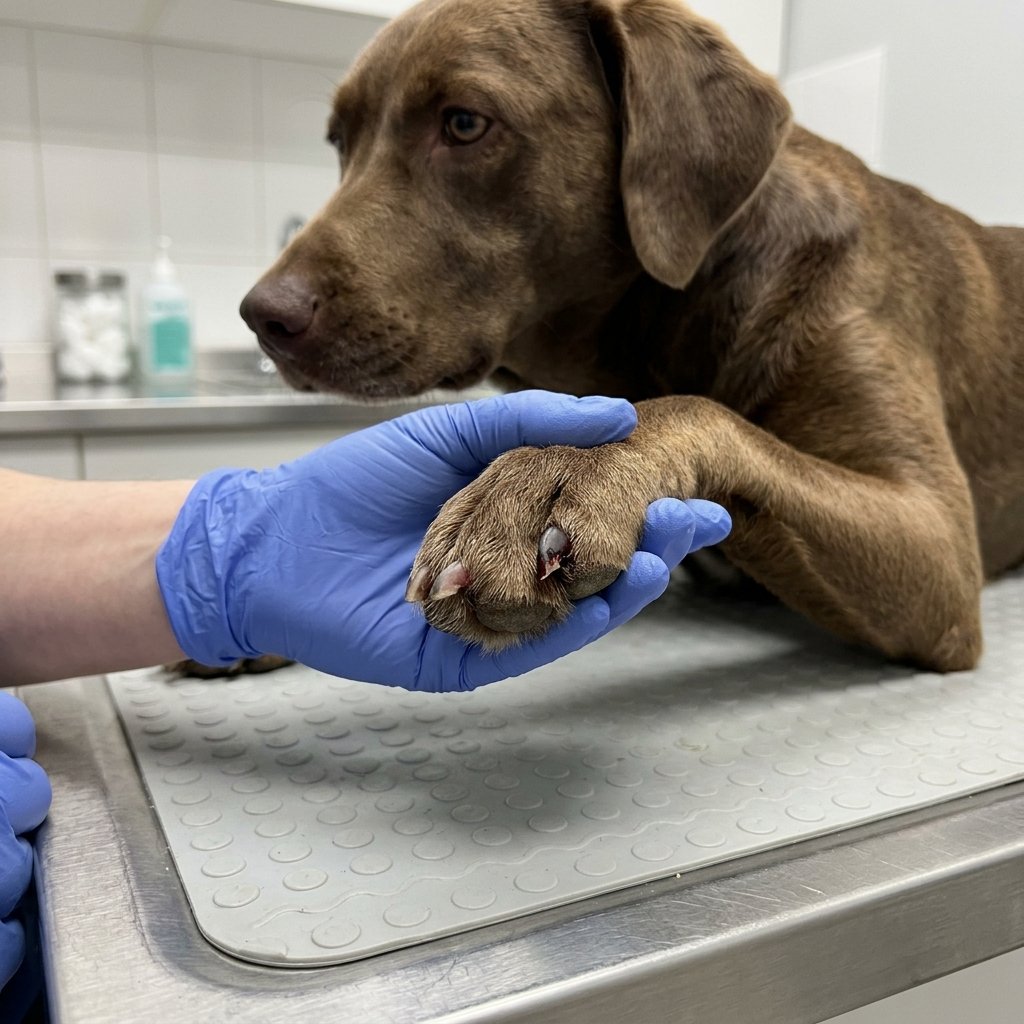
Practical example:
Your dog comes in from the yard suddenly limping and licking one paw. On closer inspection, you see a nail bent sideways with a bit of blood at the tip—that’s a typical broken nail scenario that needs calm, prompt first aid.
Step 1: Stay Calm and Safely Restrain Your Dog
Your dog is likely in pain and may be scared or reactive, even if they’re normally gentle.
How to Restrain Safely
- Speak softly and calmly, and avoid sudden movements.
- Have another adult gently hold your dog, or use a towel “burrito wrap” for small dogs.
- Consider a muzzle or an Elizabethan collar if your dog is trying to bite or won’t stop licking the foot.
The goal is to prevent your dog from thrashing, which can worsen the injury, while still allowing you to examine the paw.
Practical example:
You wrap a small dog in a towel, leaving only the injured paw exposed, while a helper holds them steady so you can see what’s going on without getting scratched or bitten.
Step 2: Control Bleeding Quickly
Broken nails can bleed a lot because the quick is rich in blood vessels.
First Aid for Bleeding
- Gently press a clean gauze pad, towel, or cloth against the tip of the nail and hold steady pressure for 5–10 minutes.
- If it’s still bleeding, use a styptic powder or pencil designed for pets, or in a pinch, dip the nail in cornstarch, flour, or baking powder to help clotting.
- You can also gently press the nail tip into a bar of soap to help seal it temporarily.
Make sure you’re not squeezing the whole paw too tightly, as that can cause more pain without stopping the bleeding effectively.
Practical example:
You pour a small amount of cornstarch onto a plate, press the nail tip into it, and hold a gauze pad over it for another minute; the bleeding slows and then stops.
Step 3: Gently Clean the Paw and Nail
Once the bleeding is under control or at least slowed, it’s time to clean the area.
Safe Cleaning Methods
- Rinse the paw with lukewarm water to remove dirt and debris.
- You can use a mild, pet-safe soap or a diluted antiseptic solution like chlorhexidine or Betadine if recommended by your vet.
- Avoid harsh products like full-strength hydrogen peroxide or rubbing alcohol; they can damage tissue and delay healing.
Pat the paw dry with a clean towel—don’t rub vigorously, as that may reopen the wound or hurt the exposed quick.
Practical example:
You mix a teaspoon of table salt in a cup of boiled, cooled water, gently rinse the paw, then pat it dry before bandaging.
Step 4: Trim Only Loose, Dangling Nail Pieces (If Safe)
Some broken nails leave a loose shard or flap that catches on everything and keeps tearing the quick.
When You Can Trim at Home
- The nail fragment is clearly cracked and barely attached, dangling or flipped to the side.
- Your dog tolerates gentle handling and doesn’t seem extremely painful when you touch around the area.
- You have clean, sharp dog nail clippers and good lighting.
In this case, you can carefully trim off just the loose piece to prevent further tearing.
When to Leave It to the Vet
- The nail is broken close to the base or into the quick.
- The broken segment is firmly attached, not just dangling.
- Your dog is very painful, reactive, or you feel unsure.
Most sources stress that many nail removals are best done by a vet—often with sedation and pain relief—to avoid causing more damage.
Practical example:
You see a thin sliver of nail hanging sideways that snags on the bandage. Because it’s clearly loose, you snip just that piece, then leave the rest and schedule a vet visit to be safe.
Step 5: Bandage and Protect the Paw
Covering the injured nail helps keep it clean and prevents your dog from licking or bumping it.
How to Bandage a Broken Nail
- Place a non-stick gauze pad or folded sterile gauze over the nail tip.
- Wrap the paw with a light layer of gauze or soft padding.
- Add a layer of self-adhesive vet wrap or an old, clean sock secured with tape—but not too tight; you should be able to slide two fingers under the bandage easily.
- Keep the bandage dry; use a waterproof bootie or plastic cover outside and remove it immediately when back indoors.
Change the bandage at least once a day or if it gets wet, dirty, or soaked with blood.
Practical example:
You place a small gauze pad on the nail, wrap a layer of gauze, then add vet wrap from toes to above the wrist, finishing with a baby sock over the top to keep it clean on quick potty breaks.
Step 6: Limit Activity and Prevent Licking
Movement and licking can reopen the wound, delay healing, and introduce infection.
Rest and Activity Restriction
- For the first 48–72 hours, keep walks short and on leash—just enough for bathroom breaks.
- Avoid running, jumping, or rough play until your vet clears your dog or the nail has clearly healed.
Stop Licking and Chewing
- Use an Elizabethan collar (cone) or an inflatable collar to keep your dog from reaching the injured paw.
- A clean sock or bootie can provide extra protection, but check often to be sure it stays dry and not too tight.
Practical example:
Your dog keeps trying to chew the bandage, so you use a cone and distract them with food puzzles and chew toys during the first couple of days while the nail bed seals.
Step 7: Monitor for Infection and Know When to See the Vet
Even with good home care, some nail injuries still need professional treatment.
Watch for Warning Signs
Call your vet promptly if you notice:
- Persistent or heavy bleeding that doesn’t stop within 10–15 minutes of pressure and styptic help
- Swelling, redness, warmth, or discharge around the nail or toe
- A bad smell from the paw or nail
- Your dog is still limping, crying, or refuses to bear weight after a day or two
- The nail is broken very high up or completely torn off, exposing a large area of quick
Vets can remove damaged nail parts safely, prescribe pain relief and antibiotics if needed, and show you how to bandage for faster, safer healing.
Practical example:
Two days after the injury, you notice the toe is puffy and your dog still won’t use that leg. Your vet trims the remaining nail under sedation, cleans the area thoroughly, and prescribes pain meds and antibiotics; the limp improves quickly.
Frequently Asked Questions About Dog Broken Nails
Is a broken dog nail an emergency?
Not always, but it can be. Heavy bleeding, severe pain, a nail broken high at the base, or swelling and discharge are reasons to seek urgent veterinary care. Mild breaks near the tip with controlled bleeding can often be managed at home with a follow‑up call to your vet.
How long does it take for a broken nail to heal?
Healing time varies with the severity and which nail is affected, but many minor nail injuries improve significantly in 1–2 weeks, with full nail regrowth taking several weeks to months. Nails on weight-bearing toes may take longer to feel normal.
Can I use human bandages or superglue on a broken dog nail?
Regular adhesive bandages usually don’t stay on well and can trap moisture; superglue is not recommended on nail injuries because it can seal in bacteria and damage tissue. Use pet-safe bandaging materials or follow your vet’s instructions.
What should I have in a dog nail first aid kit?
Useful items include gauze pads, self-adhesive vet wrap, styptic powder or pencil, cornstarch, a clean towel, pet-safe antiseptic, a cone collar, and sharp dog nail clippers. Having these on hand makes it easier to respond quickly.
How can I prevent broken nails in the future?
Regular nail trimming to a safe length, avoiding overly rough surfaces, and keeping dewclaws short can all reduce the risk. Ask your vet or groomer to show you the proper trim length and angle if you’re unsure.
Conclusion and Call to Action
A broken nail may seem like a small injury, but for your dog it can be extremely painful and, if ignored, can lead to infection or ongoing lameness. By staying calm, stopping the bleeding, cleaning and bandaging the paw, limiting activity, and watching closely for signs of infection, you can safely manage many minor nail injuries at home—and know when it’s time to call your vet.