Easy Roasted Pumpkin Seeds for Crunchy, Healthy Snacking
Easy Roasted Pumpkin Seeds for Crunchy, Healthy Snacking
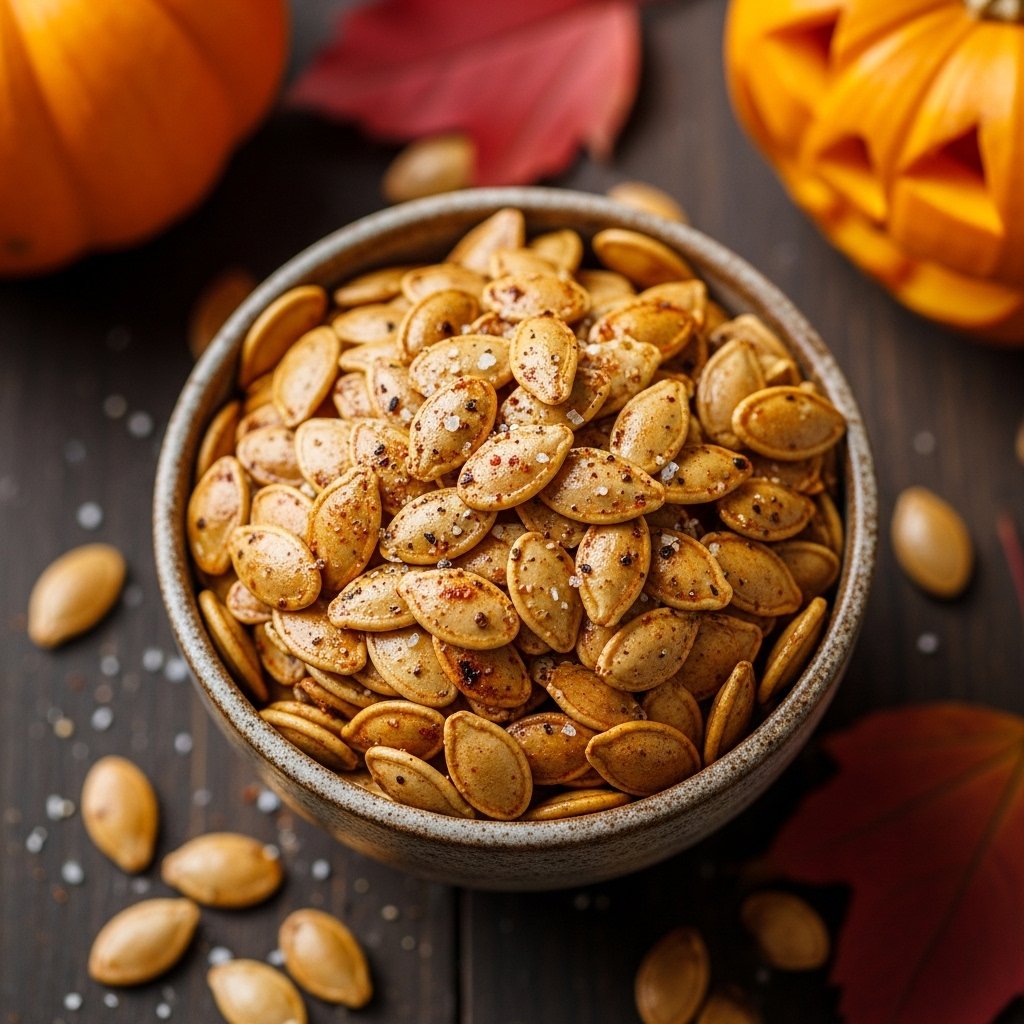
When you carve pumpkins or cook winter squash, the seeds are too good to throw away. Roasted pumpkin and squash seeds make a crunchy, flavorful snack that’s also packed with protein, healthy fats, fiber, magnesium, and zinc.
Roasting them at home is simple, lets you control salt and seasonings, and turns kitchen “scraps” into something you’ll actually look forward to eating.
Which Seeds Can You Roast?
You can roast seeds from most hard-skinned winter squashes and pumpkins:
- Pumpkin seeds:
- Carving pumpkins
- Sugar or pie pumpkins
- Any cooking variety
- Squash seeds:
- Butternut
- Acorn
- Delicata
- Kabocha
- Other winter squash types
- Gourd seeds:
Technically roastable, but decorative gourds aren’t usually grown for eating, so they’re less common as a snack.
The basic method is the same; just adjust temperature and time slightly depending on the seed size and thickness.
Step-by-Step: How to Roast Pumpkin and Squash Seeds
1. Remove the Seeds
- Cut open your pumpkin or squash.
- Use a spoon or your hands to scoop out the seeds and stringy pulp.
- Place everything in a bowl—you’ll separate seeds from pulp next.
You don’t need to be meticulous at this stage; you’ll clean them more thoroughly in water.
2. Clean the Seeds
- Fill a large bowl with cool water.
- Add the seed-and-pulp mixture.
- Gently swish with your hands to loosen the stringy bits.
Most of the pulp will sink or fall away, while the seeds tend to float:
- Skim the seeds off the top and transfer them to a colander.
- Rinse under running water to remove remaining pulp.
A few tiny bits of pulp won’t hurt, but removing most of it helps prevent burning and off flavors.
3. Dry the Seeds Thoroughly
Crispy seeds start with dry seeds:
- Spread the rinsed seeds out in a single layer on a clean kitchen towel or paper towels.
- Pat them as dry as you can.
- If you have time, let them air-dry for about an hour.
The drier they are before roasting, the more they’ll roast instead of steam, giving you better crunch.
4. Season the Seeds
Place the dried seeds in a bowl and toss with:
- A small amount of oil (just enough to lightly coat):
- Olive oil
- Avocado oil
- Coconut oil, or your preferred neutral oil
- Salt and any additional seasonings you like.
Stir until all seeds are evenly coated.
5. Roast in the Oven
Line a baking sheet with parchment paper or a silicone mat to prevent sticking.
Spread the seeds in a single layer on the sheet—don’t overcrowd them.
General Oven Guidelines
- Pumpkin seeds:
- Oven: 350°F (175°C)
- Time: about 12–15 minutes
- Squash seeds (often smaller/thinner):
- Oven: 325°F (163°C)
- Time: about 20–35 minutes, depending on size and moisture
During roasting:
- Stir or shake the pan every 5–10 minutes for even browning.
- Seeds are done when they’re golden brown, smell toasty, and taste crisp.
Watch closely near the end—seeds can go from perfect to burnt quickly.
6. Cool and Store
- Remove the tray from the oven and let seeds cool completely on the pan.
- They’ll crisp up a bit more as they cool.
Once cool:
- Store in an airtight container at room temperature for up to 2 weeks.
- For longer storage, refrigerate or freeze to help preserve freshness and prevent rancidity.
Seasoning and Flavor Ideas
The best part of homemade roasted seeds is playing with flavors.
Savory Seasonings
- Simple salt & pepper:
- Classic and always reliable.
- Spicy:
- Chili powder, cayenne, smoked paprika, cumin, or a blend.
- Herby:
- Dried rosemary, thyme, oregano, Italian seasoning, or za’atar.
- Smoky & earthy:
- Smoked paprika, garlic powder, sea salt, and a squeeze of lime after roasting.
Sweet Seasonings
- Cinnamon-sugar:
- Toss seeds with a little melted butter or oil, cinnamon, and sugar.
- Maple or honey:
- Lightly coat with maple syrup or honey plus a pinch of salt.
- Roast at slightly lower temperature and stir frequently to avoid burning.
You can also combine sweet and spicy (for example, maple + cayenne) for a bold snack.
Tips for Perfectly Crispy Roasted Seeds
- Dry them really well:
Excess moisture leads to steaming instead of roasting and gives chewy seeds. - Use a single layer:
Overlapping seeds roast unevenly and can burn in spots while others stay soft. - Stir regularly:
Turning the seeds every few minutes helps them brown evenly and avoids scorching on one side. - Know your oven:
If your oven runs hot, lean toward the lower end of the temperature range and check early. - Season after roasting (for delicate flavors):
If you’re using delicate herbs or cheese powders, you can add some after roasting so they don’t burn.
How to Use Roasted Pumpkin and Squash Seeds
Beyond eating them straight as a snack, try:
- Salads:
Use as a crunchy topping on green salads or grain salads. - Soups and stews:
Sprinkle over pumpkin soup, butternut squash soup, or chili for texture. - Breakfast bowls:
Add to yogurt, smoothie bowls, or oatmeal in place of (or alongside) nuts. - Baking and granola:
Stir into homemade granola, sprinkle over quick breads, or fold into muffin batter. - Savory dishes:
Use as a garnish on roasted vegetables, tacos, or rice bowls.
Troubleshooting Common Roasted Seed Problems
Seeds Aren’t Crispy
Likely causes:
- Not dried sufficiently before roasting.
- Oven temperature too low.
- Seeds crowded on the pan.
Fix for next time:
- Give them more drying time.
- Roast at the higher end of the temperature range.
- Spread them out in a single, uncrowded layer.
Seeds Burn Before They Crisp
Likely causes:
- Oven too hot.
- Seeds are very thin or small.
- Too much sugar in the coating without adjusting temperature.
Fix for next time:
- Reduce oven temperature slightly.
- Check and stir more often, especially with sweet coatings like honey or syrup.
Seeds Stick to the Pan
Likely causes:
- No liner or not enough oil.
- Sticky sweet coatings without parchment.
Fix for next time:
- Always use parchment paper or a silicone baking mat.
- Lightly oil both seeds and surface, especially for sweet versions.
FAQs
How long do roasted pumpkin seeds last?
Store in an airtight container at room temperature for up to 2 weeks, or freeze for 3 months. They stay crisp if kept dry.
Can I roast seeds from any squash?
Yes, butternut or acorn works great. Smaller seeds like kabocha crisp faster—adjust time by 2–3 minutes.
Why are my seeds chewy?
They weren’t dried enough before roasting. Pat dry thoroughly and let air-dry to remove all moisture.
Are pumpkin seeds healthy?
Absolutely—packed with fiber, healthy fats, magnesium, and zinc for heart health and energy.
Do I need to boil seeds first?
No, rinsing and drying skips that step for easier, crunchier results without extra work.