Hershey’s Old Fashioned Rich Cocoa Fudge Recipe
Hershey’s Old Fashioned Rich Cocoa Fudge Recipe
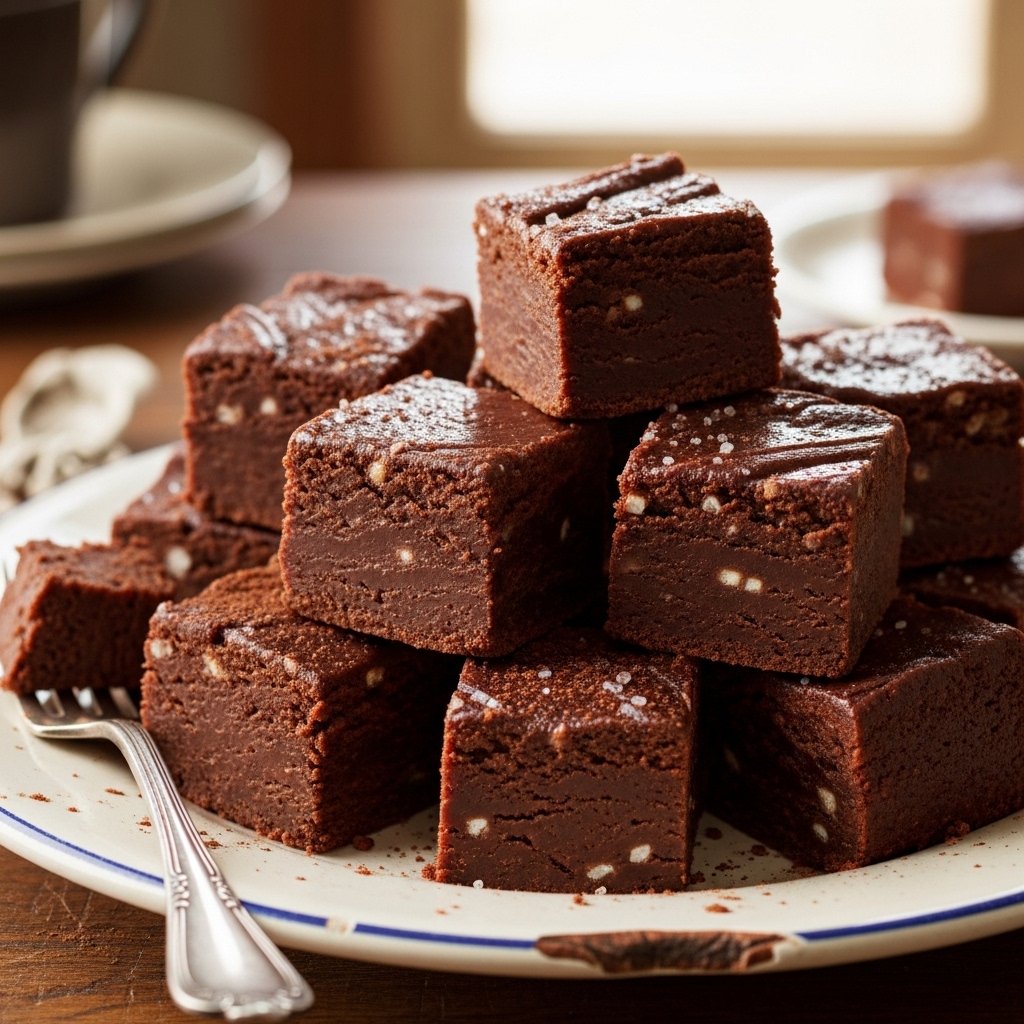
After years of holiday baking, I’ve perfected Hershey’s Old Fashioned Rich Cocoa Fudge. This classic recipe brings deep chocolate flavor without using chips or marshmallow creme. You don’t need a candy thermometer, just a few simple steps for great results every time.
Cocoa powder gives the fudge a strong chocolate taste, while evaporated milk makes it creamy. If you beat it well, you’ll get that classic matte finish.
The Magic of Old-Fashioned Fudge
Old-fashioned fudge brings back memories of grandma’s kitchen. Hershey’s recipe uses pure cocoa instead of shortcuts. The fudge sets firm but still melts in your mouth.
This recipe makes 36 squares. It takes about 15 minutes to prepare and 20 minutes to cook. It’s great for gifts or cookie swaps, and families enjoy its nostalgic feel.
Ingredients You’ll Need
Gather these pantry staples for authentic, rich cocoa fudge.
- 3 cups granulated sugar
- ⅔ cup Hershey’s Cocoa Powder (unsweetened for bold flavor)
- ⅛ teaspoon salt
- 1½ cups evaporated milk (not sweetened condensed)
- ¼ cup butter (½ stick)
- 1 teaspoon vanilla extract
- 1 cup chopped walnuts (optional, for nutty crunch)
This batch makes 64 small squares. Double the recipe if you’re serving a crowd. For the best flavor, use good-quality cocoa.
Essential Tools for Success
A heavy 3-quart saucepan helps prevent burning, and a wooden spoon is best for mixing the fudge until smooth.
Line an 8×8-inch pan with foil or parchment paper and lightly butter it. Good preparation makes candy-making easier.
Step-by-Step Instructions
Prep Your Pan
Line an 8-inch square pan with aluminum foil, leaving some overhang on the sides. Lightly butter the foil to make the fudge easier to lift out.
Combine Dry Ingredients
In a heavy saucepan, mix the sugar, cocoa, and salt. Whisk well to remove any lumps. This step helps the cocoa develop a rich flavor.
Add Milk and Cook
Add the evaporated milk and stir over medium heat until the sugar dissolves, which takes about 5 minutes. Don’t let it boil yet.
Boil to Perfection
Bring to a full rolling boil over medium-high heat. Stir constantly. Reduce to medium heat; boil for 5 minutes without stirring.
Test Doneness Right
Drop a teaspoon of the mixture into ice water. It should form a soft ball that flattens when removed. If you use a thermometer, cook to 234°F. This is the perfect stage.
Off Heat Magic
Take the pan off the heat. Add the butter and vanilla, but don’t stir. Let it cool for 15 minutes without touching it. The butter will slowly melt, giving the fudge a nice gloss.
Beat Until Matte
Beat with a wooden spoon until fudge loses shine and thickens—5-10 minutes. Arm workout pays off.
Add Nuts and Pour
Quickly stir in the walnuts, then pour the fudge into the pan and smooth the top.
Set and Slice
Let the fudge cool at room temperature for 2 hours. Use the foil to lift it out, then cut it into 1-inch squares. Store in an airtight container.
Pro Tips for Flawless Fudge
Stir dry ingredients first to avoid cocoa clumps. Use evaporated milk—it stabilizes better than regular.
Keep beating until the fudge is no longer glossy for a smooth texture. If you stop too soon, it will be gooey. If you undercook it by a minute, try again.
Humidity can affect how the fudge sets, so dry days are best for making it. If a batch doesn’t turn out, microwave the leftovers with a little milk and reheat.
Common Mistakes to Avoid
Try not to get sugar on the sides of the pan, as this can cause crystals to form. After boiling, stir gently to avoid a grainy texture.
Skip light corn syrup; it’s unnecessary. Real fudge relies on the beating technique.
If you overbake the fudge, it will turn dry. Stop when you see a matte sheen.
Storage and Freezing Guide
Room temp: Airtight container up to 2 weeks. Fridge: 1 month wrapped.
To freeze, place the squares in a single layer before putting them in a bag. Thaw overnight before serving. Fudge stays fresh for up to 3 months in the freezer.
Variations to Try
Peanut Butter Swirl: Add ½ cup peanut butter after the boil. Marble lightly.
Chocolate Mint: Swap vanilla for ½ tsp peppermint extract. Add green food color.
Mexican Chocolate: Stir in 1 tsp of cinnamon and a pinch of cayenne into the cocoa.
Vegan Twist: Use coconut milk and vegan butter. Adjust sugar slightly.
Nut-Free: Skip walnuts; top with sea salt flakes.
Why Hershey’s Cocoa Excels
Hershey’s Special Dark cocoa imparts a stronger chocolate flavor to the fudge. Using unsweetened cocoa powder helps balance the sweetness.
Chocolate chips that don’t melt can’t give the same rich flavor. Pure cocoa brings that classic, luxurious taste.
Pairing and Serving Ideas
Serve post-dinner with coffee—gift in tins lined with wax paper.
You can also use fudge pieces to top ice cream sundaes or crumble them over brownies. It’s a holiday favorite.
Nutrition Snapshot (Per Square, No Nuts)
About 90 calories, 18g carbs, 1g fat. Indulge mindfully.
FAQs
How long does Hershey’s Old Fashioned Rich Cocoa Fudge take to set?
Let the fudge cool to room temperature for 2 hours, or refrigerate overnight for cleaner cuts.
Can I use regular milk instead of evaporated?
Evaporated milk helps prevent separation, whereas regular milk can curdle. It’s best to use canned evaporated milk.
Why is my fudge grainy?
If you stir too much after boiling or if sugar crystals form, the fudge can turn grainy. Next time, beat it smoothly.
Does Hershey’s Cocoa Fudge need a candy thermometer?
No—soft ball test works. The thermometer confirms 234°F for precision.
Can I double the recipe?
Yes, you can double the recipe. Just use a larger pan and cook for the same amount of time. Do not overcrowd the saucepan.