Best Classic Chili Recipe
Best Classic Chili Recipe
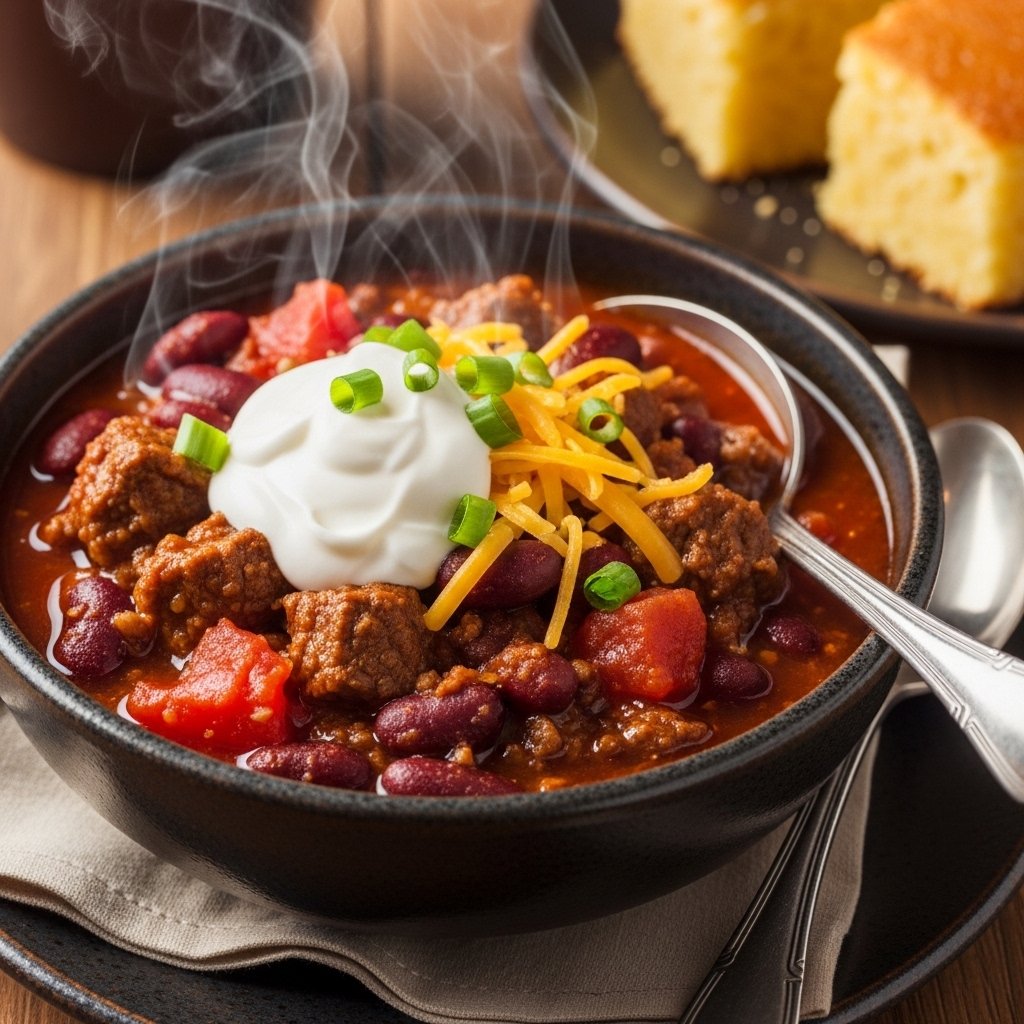
Nothing warms you up like a pot of classic chili on a chilly evening. This timeless recipe brings bold flavors with tender beef, rich spices, and hearty beans. It’s perfect for family dinners or game day.
Why This Classic Chili Recipe Stands Out
After making countless chili recipes over 30 years as a food blogger, I’ve created this version. It preserves the classic style while adding practical tweaks to improve taste and texture.
Ground beef cooks slowly with chili powder, cumin, and garlic. Fire-roasted tomatoes add a smoky depth without too much heat.
Kidney beans help thicken the chili, giving it just the right consistency. This recipe is easy for beginners but still has enough spice for those who love heat.
Key Ingredients for Authentic Flavor
Fresh ingredients make homemade chili stand out. Use high-quality ground beef with an 80/20 lean-to-fat ratio for the best juiciness.
You’ll need onions, garlic, bell peppers, and jalapeños to build a flavorful base. Using canned tomatoes and beans makes the recipe easy and pantry-friendly.
Spices such as chili powder, cumin, oregano, and a bit of cayenne add layers of flavor. Beef broth brings extra richness to the dish.
Ingredients (Serves 8)
- 2 lbs ground beef (lean, 85% preferred)
- 1 large yellow onion, diced
- 1 red bell pepper, chopped
- 3 garlic cloves, minced
- 2 jalapeños, seeded and diced (adjust for heat)
- 3 tbsp chili powder
- 2 tsp ground cumin
- 1 tsp dried oregano
- 1 tsp smoked paprika
- ½ tsp cayenne pepper (optional)
- Salt and black pepper, to taste
- 2 tbsp tomato paste
- 1 (28-oz) can crushed tomatoes
- 1 (15-oz) can fire-roasted diced tomatoes
- 2 (15-oz) cans kidney beans, drained and rinsed
- 2 cups beef broth
- 1 tbsp olive oil
Toppings: Shredded cheddar, sour cream, green onions, cilantro, avocado.
Step-by-Step Instructions
Heat olive oil in a large Dutch oven over medium heat. Add diced onion, bell pepper, and jalapeños. Sauté 5-7 minutes until softened.
Add the minced garlic and cook for 1 minute, until fragrant. Move the vegetables aside and add the ground beef, breaking it up as it cooks. Brown for 8 to 10 minutes, and drain any extra fat if needed.
Stir in the chili powder, cumin, oregano, paprika, cayenne, salt, and pepper. Toast the spices for 2 minutes to enhance flavor.
Add tomato paste. Cook 1-2 minutes to caramelize. Pour in crushed tomatoes, diced tomatoes, beans, and broth. Stir well.
Bring to a boil, then reduce to a low simmer. Cover partially. Cook 1.5-2 hours, stirring occasionally. Chili thickens as it simmers—perfectly consistent, it coats a spoon.
Taste and adjust seasoning. Simmer uncovered 15-20 minutes for thicker chili. Remove from heat; let rest 10 minutes.
Essential Cooking Tips
Use a heavy pot to distribute heat evenly—prevents scorching. Brown the meat well to boost the Maillard reaction flavor.
Toast the spices before adding liquids to release their oils. This step elevates basic chili to restaurant-quality.
Simmer low and slow; rushed chili tastes flat. If too thick, add broth ¼ cup at a time.
If you make chili ahead, it tastes even better the next day as the flavors blend overnight. It also freezes well for up to 3 months.
Common Mistakes to Avoid
Don’t skip draining beans—they add excess liquid. Rinse thoroughly for a cleaner taste.
Over-spicing early hides natural beef flavor. Add heat gradually at the end.
Stirring too often breaks down beans prematurely. Let it bubble undisturbed mostly.
Skipping rest time post-cook? Flavors need time to settle—patience pays off.
Variations for Every Taste
Swap beef for ground turkey for a lighter chili. Use the same method, but you’ll have less fat.
Go vegetarian: Use lentils or extra beans instead of meat. Add corn for sweetness.
Add chorizo or smoked sausage. For Texas-style, skip beans entirely.
White chicken chili twist: Shredded chicken, white beans, green chiles. Creamy with sour cream stir-in.
Perfect Serving Ideas
Serve the chili in bowls with cornbread on the side. The sweetness of the cornbread balances the chili’s savory heat.
Chili mac: Stir in cooked pasta for the last 10 minutes—this is a family-favorite upgrade.
Top a baked potato or nachos for fun twists. Frito pie? Layer with corn chips.
Leftovers shine in stuffed peppers or quesadillas—a versatile weeknight hero.
Storage and Reheating
Cool completely before storing. Refrigerate up to 4 days in an airtight container.
Freeze the chili in portions. Thaw it overnight and reheat on the stovetop with a splash of broth.
Reheat gently to avoid toughness. The microwave works, but stir midway.
Nutrition Highlights
One serving (about 1.5 cups): 450 calories, 25g protein, 30g carbs, 22g fat. High in fiber from beans.
Rich in iron from beef, antioxidants from tomatoes, and spices. Balanced comfort food.
Customize for low-carb: reduce beans and add zucchini. Keto? Use cauliflower rice base.
Why Home-Cooked Chili Wins
Store-bought chili often lacks depth and often contains fillers. Making it at home lets you control the salt and quality.
This recipe scales easily for crowds and is budget-friendly at under $3 per serving.
Generations-tested: My tweaks come from reader feedback over decades.
FAQs
How long to simmer classic chili?
Simmer for 1.5-2 hours on low to achieve tender meat and a thick sauce.
Can I make chili in a slow cooker?
Yes, brown the meat first, then cook low and slow for 6-8 hours.
What beans are best in chili?
Kidney beans for classic hearty texture; black beans for earthiness.
Is chili better with beer?
Beer adds malty depth—use 1 cup, reduce broth slightly.
How to thicken watery chili?
Mash the beans or simmer them uncovered for 20 minutes.