How to Overwinter Strawberries in 6 Easy Steps
How to Overwinter Strawberries in 6 Easy Steps
Overwintering strawberries helps your plants survive tough winters. This guide gives you simple, effective steps to follow.
Strawberries come back each year if you care for them in the fall. Protecting the crowns from frost means you’ll get more berries next season.
Why Overwinter Strawberries?
If you live in zone 4 or colder, your strawberry plants need winter protection. Frozen soil can kill the crowns and ruin next year’s harvest.
Without mulch, the freezing and thawing can push plants out of the ground. Dormant plants do best when they’re insulated.
June-bearing varieties store energy in crowns for spring blooms. Everbearers and day-neutrals also benefit from care.
Know Your Strawberry Types
June-bearing strawberries produce fruit once each summer. After you harvest, they respond well to renovation before winter.
Everbearers produce two crops yearly. Trim lightly to avoid stress before winter.
Day-neutral strawberries produce fruit all season long. Mulch them as you would the others, but monitor for any late growth.
Step 1: Time It Right
Begin after you’ve harvested and after nighttime temperatures remain below 20°F for three consecutive nights. The plants need to be fully dormant to survive.
Wait until the leaves brown naturally. Early mulching traps moisture and invites rot.
If you’re in a warmer zone, such as 7 or higher, you may only need a light layer of mulch, or none at all. Always check your local frost dates first.
Step 2: Renovate the Patch
After your plants finish fruiting, cut the leaves down to about an inch above the crowns. This helps prevent rot and keeps pests away.
Narrow rows to 12 inches. Remove weeds and plants older than 4 years.
Loosen the soil between rows, but don’t dig deeper than two inches, so you don’t hurt the roots.
Step 3: Fertilize Lightly
Apply a balanced organic fertilizer low in nitrogen. Use 10-10-10 or compost at 1 lb per 100 sq ft.
Water the plants well after fertilizing to help the nutrients settle in. This strengthens the roots without causing new growth.
If your plants already look healthy, you can skip fertilizing. Excessive fertilizer can cause tender new shoots that are not well adapted to cold.
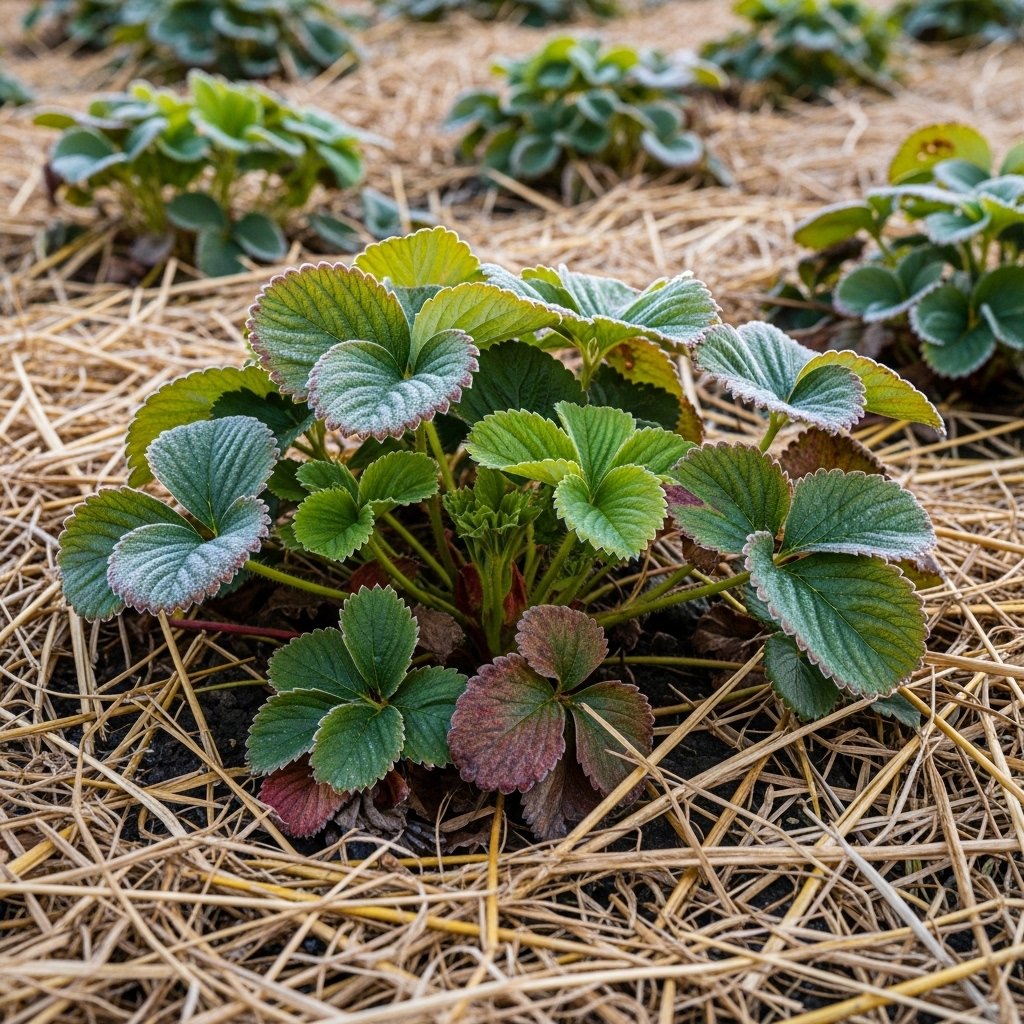
Step 4: Mulch Generously
Spread 4-6 inches of straw, pine needles, or chopped leaves over crowns. Weed-free materials prevent issues.
Spread the mulch evenly over the whole bed. Straw acts as natural insulation and helps suppress weeds.
Avoid hay with seeds. Pine needles suit acidic soil-loving strawberries best.
Step 5: Add Extra Protection
If you’re in zone 5 or colder, put row covers or thermal blankets over the mulch. Use rocks to hold down the edges so the wind doesn’t blow them away.
Row covers add 4-8°F warmth. Use low tunnels in heavy-snow areas.
For containers, group pots in a sheltered spot. Wrap with burlap and mulch the tops thickly.
Step 6: Spring Uncover
Wait for soil at 40°F and no frost risk. Remove covers gradually over days.
Rake back some of the mulch and let the new growth come up on its own.
Look under the mulch for any pests. If the crowns are healthy, your plants will grow strong.
Container Strawberry Tips
Pots that sit above the ground freeze faster than those in the soil. If you’re in zone 6 or colder, move them into an unheated garage.
Insulate sides with bubble wrap or blankets. Mulch tops and water sparingly.
Keep your pots close together to retain heat. Check them periodically to ensure the roots don’t dry out.
Common Mistakes to Avoid
If you mulch too early, it can cause rot. Make sure your plants are dormant before you add mulch.
If you skip renovation, your plants may get weak. Clean up your beds annually to maintain good harvests.
Mulch that isn’t clean can spread disease. Try to source clean straw locally.
Benefits of Proper Care
Protected plants yield 20-50% more fruit. Healthier crowns mean bigger berries.
You’ll save money because you won’t need to replant every year. With proper care, your strawberry plants can last 3 to 5 years.
Builds resilient gardens. Strawberries return stronger each spring.
Overwintering your strawberries helps your garden succeed. Follow these steps, and you’ll enjoy juicy berries at harvest time.
FAQs
When should I mulch strawberries for winter?
Mulch after three nights below 20°F, once plants are dormant.
What is the best mulch for overwintering strawberries?
Use 4-6 inches of clean straw or pine needles over crowns.
Do everbearing strawberries need winter protection?
Yes, mulch crowns like June-bearers to protect from freeze damage.
How do I overwinter strawberries in pots?
Group pots, wrap sides, mulch tops, and shelter from wind.
When to remove winter mulch from strawberries?
Determine when the soil reaches 40°F and frost risk has passed.